How to Use a Pour Over Coffee Scale Like a Pro
When it comes to brewing a truly great cup of pour over coffee, precision is everything. While it’s tempting to eyeball water and go by feel, using a dedicated pour over coffee scale can instantly improve your consistency, extraction, and flavor.
In this guide, you’ll learn how to use your coffee scale like a professional — and how a good scale can take your brew to the next level.
☕ Why Use a Pour Over Scale?
A pour over scale does more than weigh coffee. It helps you:
-
Measure exact ratios of coffee to water (e.g., 1:16 or 1:15)
-
Track timing and extraction flow
-
Keep your brew consistent, cup after cup
Without it, you’re just guessing — and every cup may taste different.
🧰 What a Pour Over Scale Actually Does
Here’s what a professional-grade coffee scale enables you to control:
-
Weight: Accurately weigh your coffee grounds and water to maintain a consistent ratio
-
Timer: Time your bloom and full extraction precisely
-
Flow Rate: Some high-end scales show your pouring speed (ml/sec), helping you develop a consistent technique
📖 Step-by-Step: How to Use a Coffee Scale Like a Pro
Step 1: Set Up Your Gear
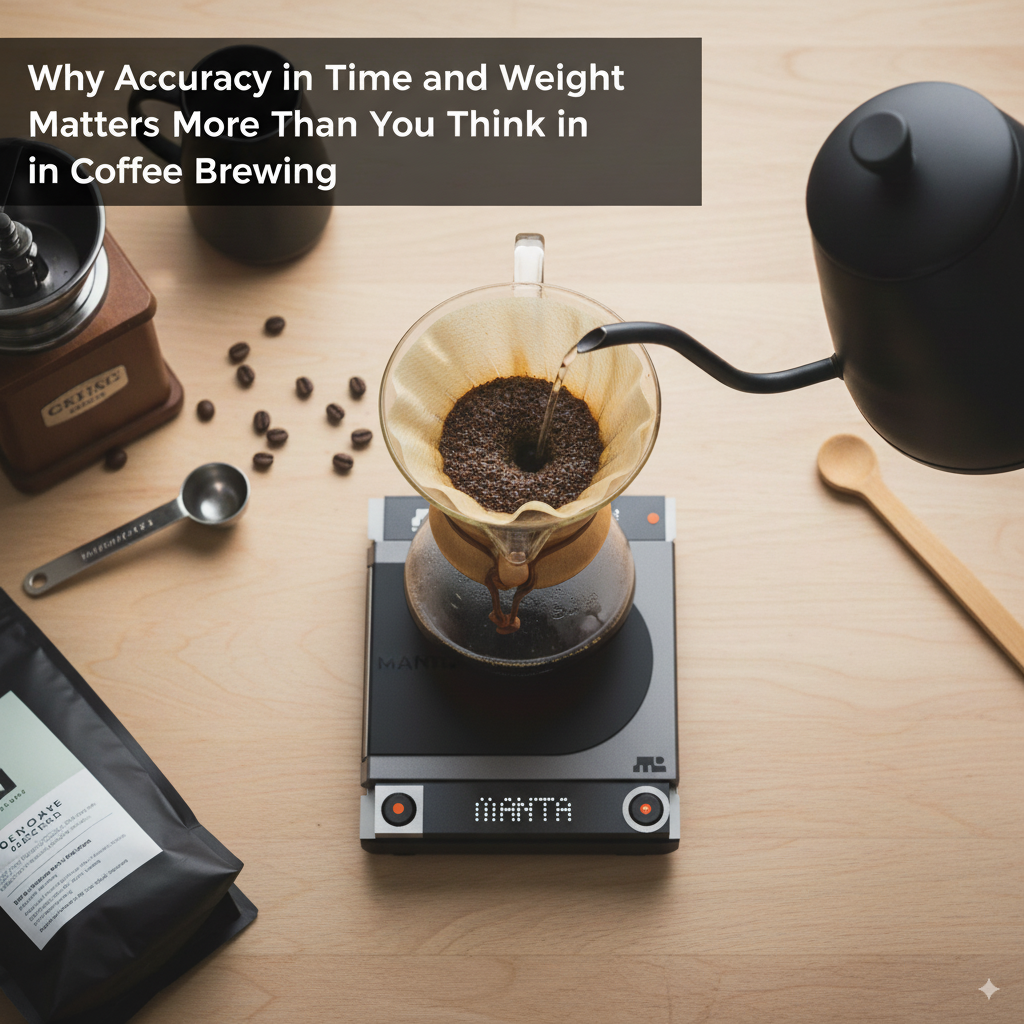
Prepare your pour over setup: dripper, filter paper, freshly ground coffee, kettle, mug or carafe — and of course, your scale.
Step 2: Tare Your Equipment
Place your carafe and dripper on the scale. Press the Tare button to zero out their weight. Now you’re only measuring what matters.
Step 3: Add Ground Coffee
Add your ground coffee (usually 15–20g), depending on your desired strength. Tare again if needed.
Step 4: Start the Timer and Bloom
Start the timer. Begin pouring just enough water (usually 2x coffee weight, e.g. 30g for 15g of coffee) to saturate the grounds. Let it bloom for about 30–45 seconds.
Step 5: Pour in Controlled Stages
Continue pouring in pulses or a steady stream, watching the weight and time. A typical target might be 250g water over 2:30–3:00 minutes.
Use a circular motion and stay consistent. If your scale tracks flow rate, aim for around 5–7g/sec for a balanced extraction.
Step 6: Stop the Timer and Taste
Once you reach your target weight, stop the timer. Let the coffee finish dripping. Now you can taste and assess: was it over or under-extracted? Use your data to adjust next time.
🎯 Tips to Brew Like a Pro
-
Consistency is key — weigh everything, even your rinse water
-
Control flow — a gooseneck kettle helps, but a good scale helps more
-
Record your brews — take notes of weight, time, and taste
-
Use a scale with flow rate — real-time feedback trains your muscle memory
🔧 Recommended Tool: MANTABREW WeighMaster Scale
If you’re serious about pour over, you need a tool that goes beyond the basics.
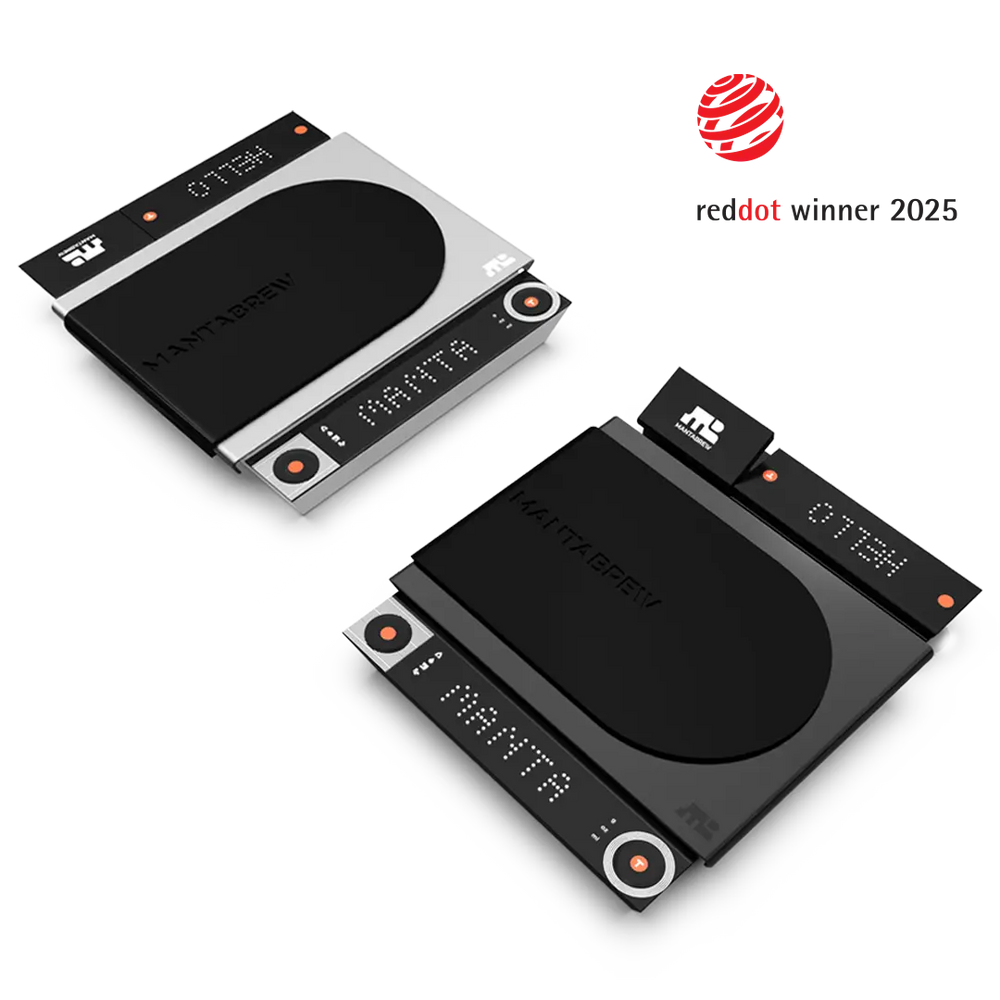
The MANTABREW WeighMaster is a Red Dot Award-winning scale designed by and for coffee enthusiasts:
-
🧠 0.1g precision — perfect for dialing in grind size and water weight
-
⏱ Dual timers for bloom + total time
-
📉 Live flow rate display to help control your pour like a pro
-
🔄 Flip-screen design for right or left-hand setup
-
🧩 Modular build — upgrade or replace parts easily
-
🔋 Rechargeable (USB-C), compact, and water-resistant
👉 Start brewing better today:
👉 https://mantabrew.com/products/weighmaster-coffee-scale-series
🧠 Final Thoughts
Using a pour over scale might seem “extra,” but it’s actually one of the most important tools for achieving professional-level results. From consistent flavor to improved extraction, it transforms guesswork into control.
Whether you’re a beginner or a seasoned brewer, a high-quality scale like the MANTABREW WeighMaster can help you understand your coffee — and your technique — like never before.


