How to Use a Milk Frothing Pitcher and Coffee Scale Like a Barista
Whether you’re crafting a silky flat white or chasing the perfect latte art, two tools can instantly elevate your home coffee game: a milk frothing pitcher and a precision coffee scale. These aren’t just accessories—they’re the foundations of control, balance, and consistency in every cup.
In this guide, we’ll show you how to use both like a true barista, and how the right tools—like the ones from MANTABREW—make all the difference.
☕ Why These Two Tools Matter
Many home brewers skip over using a coffee scale or pitcher, relying instead on “eye-measurements” and guesswork. The result? Inconsistent texture, volume, and taste. Here’s what each tool helps you control:
✅ A Coffee Scale:
-
Accurate Dosing: Measure your espresso shot and milk ratio perfectly.
-
Pour-Over Timing: Control bloom and flow rate.
-
Consistency: Reproduce your best cup, every single time.
✅ A Milk Frothing Pitcher:
-
Smooth Froth: Create silky microfoam for latte art or cappuccinos.
-
Controlled Pouring: The spout shape directly affects the flow and your latte art results.
-
Temperature Awareness: With practice and measurement, avoid scalding milk.
🔧 Step-by-Step: Using Them Together Like a Pro
Step 1: Weigh Your Espresso Shot
Use your MANTABREW WeighMaster Coffee Scale to dial in your espresso dose. Most baristas use a 1:2 brew ratio (e.g., 18g in, 36g out) for balanced flavor.
Step 2: Measure Your Milk by Weight
Instead of guessing, use your scale to measure the correct milk amount. For a standard latte, 150–180ml of milk is ideal for a double shot.
Pro Tip: Weigh milk before frothing, especially when using different cup sizes or milk types.
Step 3: Froth with the Right Pitcher
Using a Teflon-coated milk frothing pitcher gives you better glide and easier cleanup. A good pitcher should have:
-
Dual-V spout for balanced flow
-
Markings for precise volume
-
Non-stick interior to help with microfoam control
Step 4: Control Temperature & Texture
While frothing, aim for a milk temperature of 55–65°C (130–150°F). You’ll recognize proper microfoam by its silky, glossy texture—like wet paint.
Step 5: Pour With Purpose
Hold the pitcher slightly tilted and use a controlled wrist motion. The shape of the spout and your control over flow speed (helped by precise milk measurement) will make all the difference in producing clean latte art patterns.
👨🔧 Why Baristas Trust MANTABREW
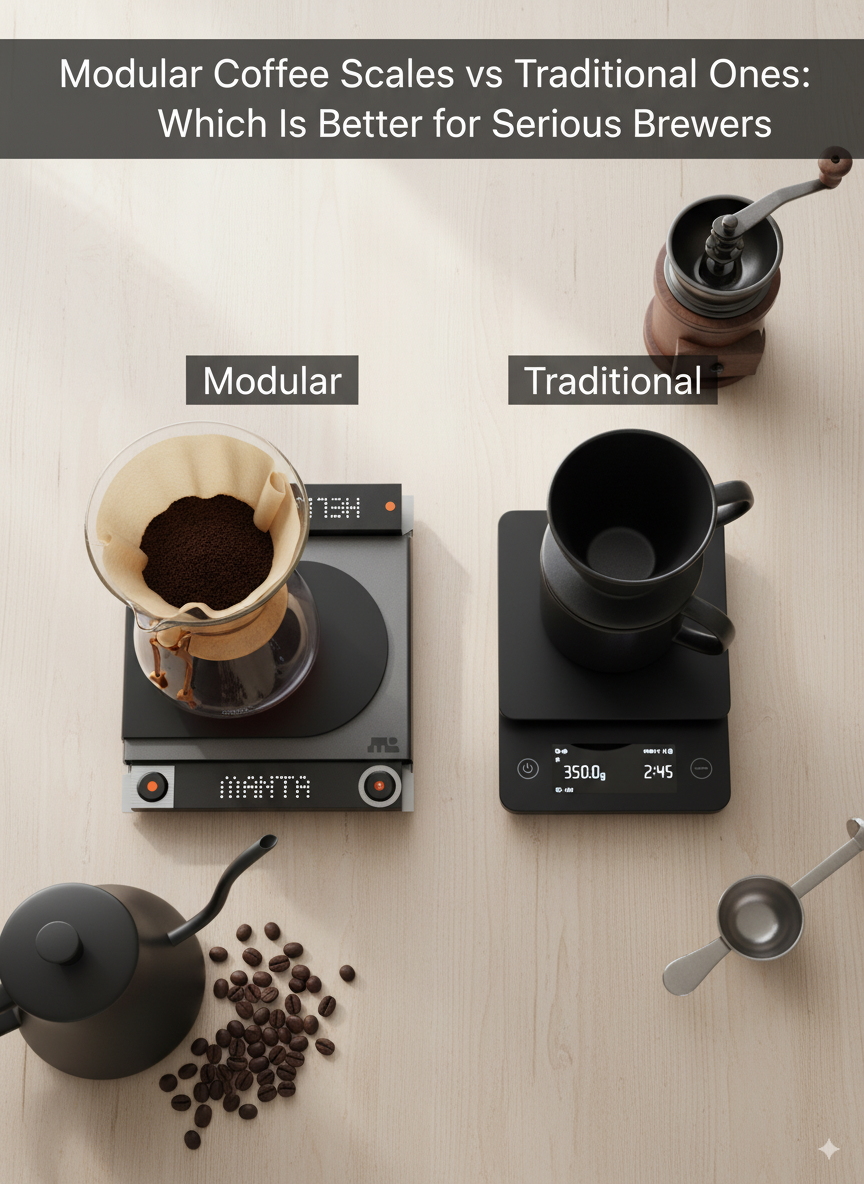
MANTABREW’s WeighMaster Coffee Scale and Milk Frothing Pitcher are designed modularly for versatility—whether you're brewing espresso, pour-over, or preparing milk-based drinks. Barista tools don’t need to be complicated—they just need to be smart.
-
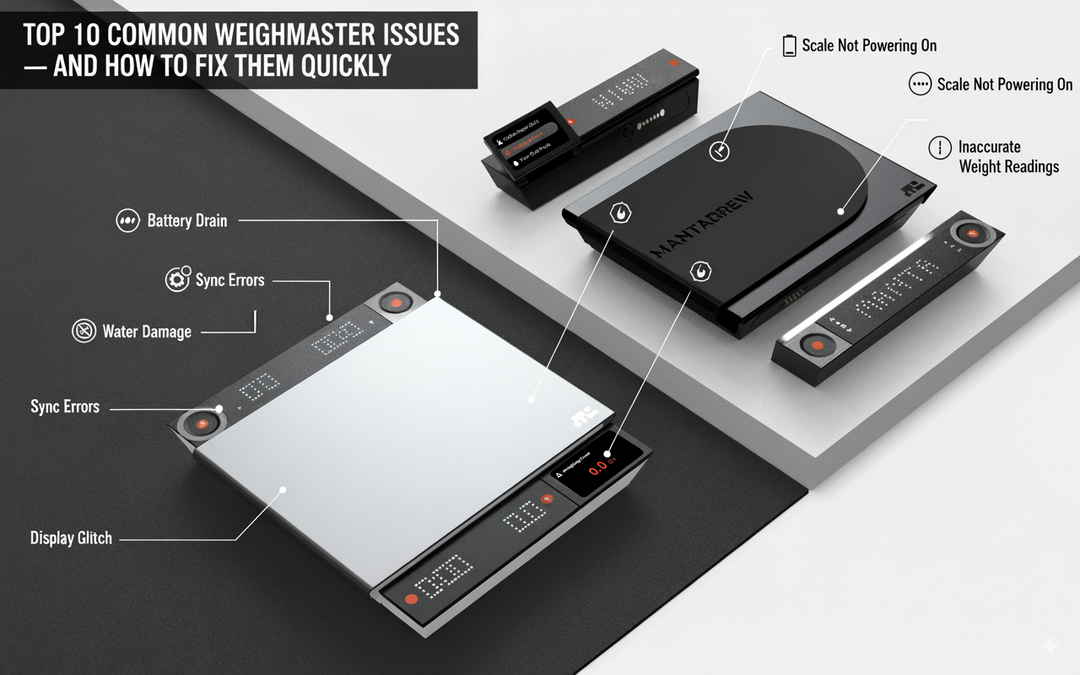
💡 Flip-screen, timer, water flow display on the scale
-
🖤 Teflon-coated, easy-clean frothing pitcher with dual-V design
-
🔗 Modular design = upgrade as you grow
🛒 Ready to elevate your brews?
Explore the full setup here: MANTABREW Official Store →
Final Thoughts
Getting better at coffee doesn’t mean buying dozens of gadgets. It means understanding and controlling the variables. With a coffee scale and a milk frothing pitcher, you gain command over weight, flow, temperature, and texture—the exact same way professional baristas do.
And with thoughtfully designed gear from MANTABREW, you don’t have to compromise between aesthetics, functionality, and performance.


