

Pour Over Brewing Guide: Mastering Ratio, Flow, and Timing with a Scale
Pour-over coffee is a favorite among enthusiasts for its clarity, ritual, and control. But unlike automatic brewers, great pour-over relies heavily on you — your technique, your consistency, and your tools. Chief among those tools? A good scale.
In this guide, we’ll walk through the three foundational pillars of pour-over mastery: brew ratio, flow control, and timing — and how using a coffee scale can transform your brew from decent to exceptional.
1️⃣ The Brew Ratio: Getting the Foundation Right
What Is Brew Ratio?
The brew ratio is the starting point of every good cup. It defines how much coffee you use compared to water. A common standard is 1:15 to 1:17 — meaning 1 gram of coffee for every 15 to 17 grams of water.
For example:
-
15g coffee × 16 = 240g water
-
20g coffee × 15 = 300g water
Why a Scale Matters
Without a scale, it's easy to eyeball too much coffee or overpour water. That can result in weak, sour coffee or an over-extracted, bitter mess.
A good scale ensures:
-
Precision: You’re hitting the exact ratio each time
-
Consistency: No more guessing day to day
-
Repeatability: You can replicate that perfect cup again and again
How to Use It
-
Tare your empty brewer and filter
-
Add your ground coffee (e.g., 18g)
-
Multiply by your chosen ratio (e.g., 18 × 16 = 288g water)
-
Track your water weight live as you pour
This creates a consistent foundation — and lets you focus on flavor.
2️⃣ Flow Rate: Controlling the Pour
What Is Flow Rate?
Flow rate refers to the speed and control of your pouring. A too-fast pour may channel water through coffee unevenly. A too-slow pour can stall extraction and mute brightness.
You’re aiming for a steady, controlled flow — usually between 3–5g/second.
Measuring Flow Rate with a Scale
Some advanced scales (like MANTABREW WeighMaster) show your real-time flow rate. Others let you calculate it manually:
Formula:Flow rate (g/s) = Amount of water poured ÷ Time taken
For example:
-
Pouring 150g of water over 40 seconds → 150 ÷ 40 = 3.75g/s
Why It Matters
Flow rate affects:
-
Extraction balance
-
Sweetness and clarity
-
Total brew time and body
Learning to pour smoothly — and watch your scale’s feedback — helps develop muscle memory and more expressive brews.
3️⃣ Timing: Extraction Windows and Brew Phases
Why Timing Is Critical
Timing governs how long water interacts with coffee grounds. Under-extracted brews (too short) taste sour and hollow. Over-extracted brews (too long) taste bitter or dry.
Most pour-over brews target 2:30 to 3:30 minutes total.
Key Phases to Time
-
Bloom (0:00–0:45)
-
Add ~2x coffee weight in water to pre-wet
-
Releases trapped gas, allows even extraction
-
-
Main Pour(s) (0:45–2:30+)
-
Add water in slow spirals or pulses
-
Keep flow even, avoid disturbing the bed
-
-
Drawdown (2:30–3:30)
-
Let gravity do the rest
-
Watch total time and weight
-
Why a Built-in Timer Helps
Scales with timers (or auto-start modes) keep your brew phases precise. You don’t need to fumble with a phone — just press start and focus on the pour.
Some smart scales even track both time and flow simultaneously, giving you a more intuitive brewing rhythm.
4️⃣ Putting It All Together: Brew Like a Pro
Pour Over Brew Guide: Step-by-Step
Equipment Needed:
-
Pour-over brewer (e.g., V60, Kalita, Origami)
-
Freshly ground coffee (medium-fine grind)
-
Scale with timer (recommended)
-
Kettle (preferably gooseneck for precise pouring)
-
Filter paper
-
Hot water (92–96°C / 198–205°F)
Step 1: Prepare Your Setup
-
Place filter in your brewer and rinse with hot water to remove paper taste and preheat the brewer.
-
Discard rinse water.
-
Place brewer on your scale and tare it to zero.
Step 2: Add Coffee Grounds
-
Weigh out your coffee (e.g., 15g).
-
Add grounds to filter, level the bed gently.
Step 3: Start the Brew & Bloom
-
Start your scale timer.
-
Pour twice the coffee weight in water slowly (e.g., 30g water for 15g coffee).
-
Let coffee bloom for 30 to 45 seconds to release trapped gases.
Step 4: Main Pour
-
After bloom, pour water steadily in slow, circular motions, keeping flow rate consistent.
-
Aim to reach your target water weight (e.g., 250g) within 2 to 2.5 minutes total brew time.
-
Avoid pouring directly on the filter or sides; pour onto the coffee bed evenly.
Step 5: Drawdown & Finish
-
Allow water to drain completely through the coffee.
-
Total brew time should be around 2:30 to 3:00 minutes.
-
If the drawdown is too fast or slow, adjust your grind size next time.
Step 6: Serve & Enjoy
-
Remove brewer, swirl coffee gently to mix flavors, and serve immediately.
-
Clean your equipment to keep flavors fresh for next brew.
Tips for Perfection:
-
Keep your flow steady: Use the scale’s timer and flow rate feedback if available.
-
Adjust grind size: If brew time is too short, try a finer grind; if too long, coarser grind.
-
Water temp matters: Keep between 92–96°C for best extraction.
-
Experiment: Adjust ratio and timing slightly to match your bean and taste preferences.
✅ Conclusion
Mastering pour-over coffee isn’t about expensive gear or barista flair — it’s about understanding three fundamentals:
-
Brew ratio
-
Flow rate
-
Brew time
With a reliable, responsive scale, you can learn to control all three — and elevate every cup you brew.
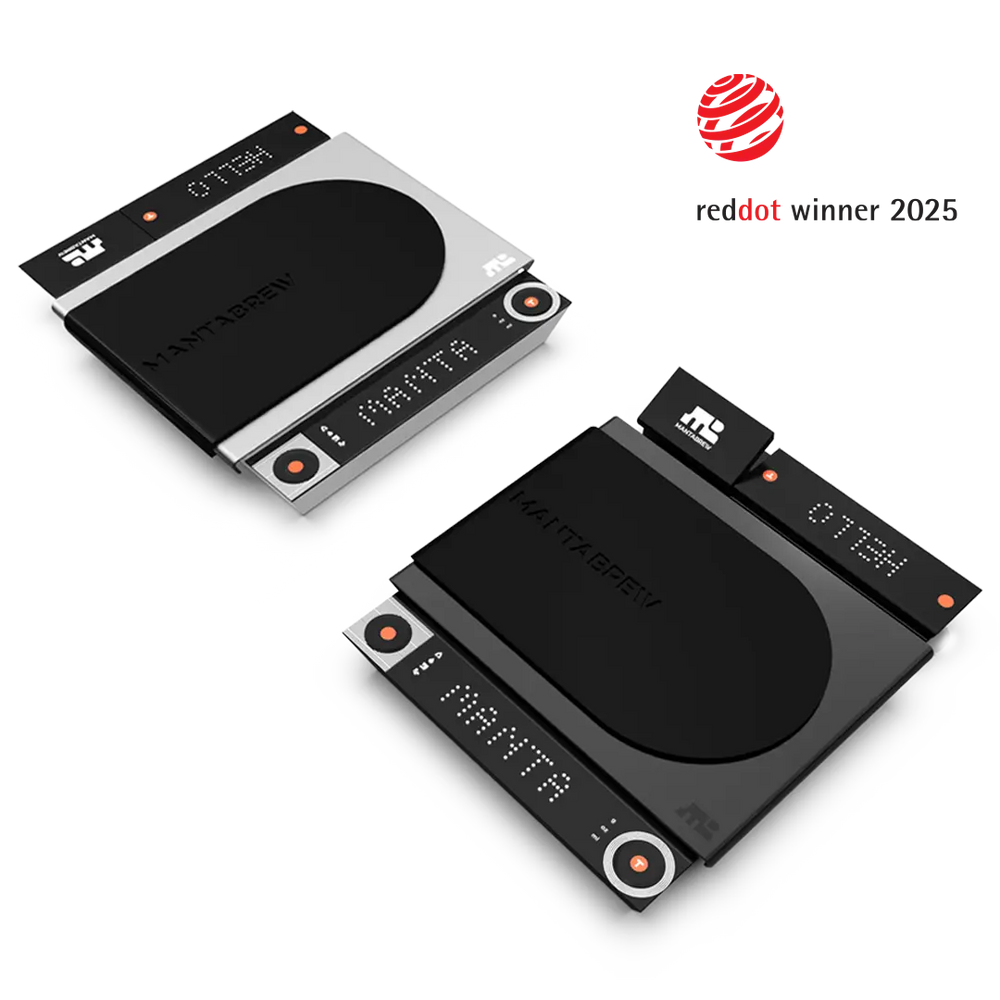
🎯 Want to Brew Like a Barista?
Check out the MANTABREW WeighMaster, a Red Dot Award–winning scale built for pour-over lovers. With modular design, real-time flow feedback, and intuitive LED displays, it’s made to guide you through every stage of the brew.


